Add a form to your Webflow
Initiate the collection of form submissions from your Webflow form using formzillion.
Simply create your form in formzillion and insert your form-id into your form.
Building forms with Webflow and Formzillion
Webflow is an intuitive visual web design platform that allows users to create professional and responsive websites without coding knowledge.
This guide will demonstrate the quick process of adding a contact form to your Webflow project and connecting it to Formzillion for submission handling.
How to create a Webflow Contact Form
Step 1 — Create new form endpoint on Formzillion
Sign in to your Formzillion account and create a new form with name Webflow Contact Form or a similar identifier. Formzillion will assign a unique form ID specifically for identifying your Webflow form.
Step 2 — Setting up your Webflow Website
- Open your website in Webflow or the Webflow Designer.
- Click on the "Add Elements" tab located in the top left corner.
- Scroll down to the "Forms" section.
- Drag and drop the "Form Block" onto the desired page.

Step 3 — Configuring the Form Endpoint
- Select the newly added "Form" element.
- Click on "Element Settings" to access the form settings.
- In the "Action" field, enter the form endpoint URL where form submissions will be sent. Make sure to set the method to "POST".

- If needed, customize other form settings.
Step 4 — Publishing Your Website and Testing the Form
- Publish your Webflow website by clicking on the "Publish your site" and choosing the domain.
- Navigate to the page with the form and submit a test submission.
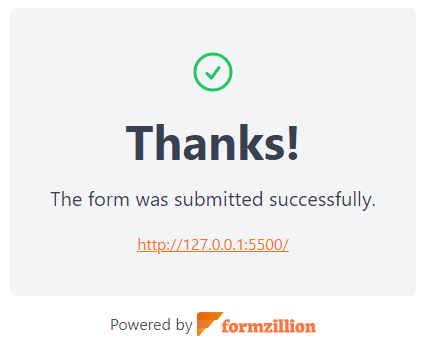
And there you have it! Once you fill out and submit the form, you will be able to view the default submission thank you page.

Congratulations! Your Webflow site now has the contact form powered by Formzillion!